This is the first TechTip of a new series that aims to help you leverage your ILE RPG knowledge to learn a multi-purpose, programmer-friendly, modern, object-oriented language. Let's start at the beginning: setting up your development environment.
This series' goal is to help you learn enough C# to be able to use this programming language instead of RPG for some of your IBM i development. With it, you'll be able to build stuff that you'd have a hard time doing using only RPG, such as graphical user interfaces, data-rich web applications, and even mobile apps!
As I explained in the prequel to this series, C# and .NET have a lot in common with RPG and ILE. However, I'll take things nice and slow, because learning a new programming language, particularly an object-oriented one, can be a challenge.
I'll start with the setup of your development environment (Visual Studio) on this TechTip before discussing the language itself. Later, I'll introduce the graphical user interface (GUI) and all it entails. You'll see that it's actually pretty easy to create a nice-looking GUI for your IBM i data! But there's a catch: in order to show your data, you first have to get it from the i. While RPG does it naturally, C#, as you'll see later in the series, requires a bit more effort. It's not difficult; it's just different. We'll work through a few examples together, to make you at ease with all the details a nice and fluid GUI entails. Much later in the series, I'll use those GUI lessons to introduce mobile development with Xamarin.Forms.
Setting Up the Development Environment
For RPG, you use SEU, WDSC, or RDi, depending on your preferences and company policies. For C#, I'll use Visual Studio (VS). There are other editors, from paid to free, that allow you to edit C# code, but VS offers, without a doubt, the most pleasant and efficient programming experience, as you'll see later in this TechTip. So why would I suggest anything else, especially now that Visual Studio has a free edition (Visual Studio Community) and it's available for multiple platforms (Visual Studio Code is available for Windows, Linux, and Mac)?
Let's start by installing Visual Studio Community. I'll explain the process step by step, but a word of caution: this installation process is a bit long. It's true it runs unassisted for the most part, but it might take an hour or more to complete, depending on your computer and Internet connection. That said, it's time to begin. Click here to go the Visual Studio Community download page. You'll be presented with something similar to Figure 1:
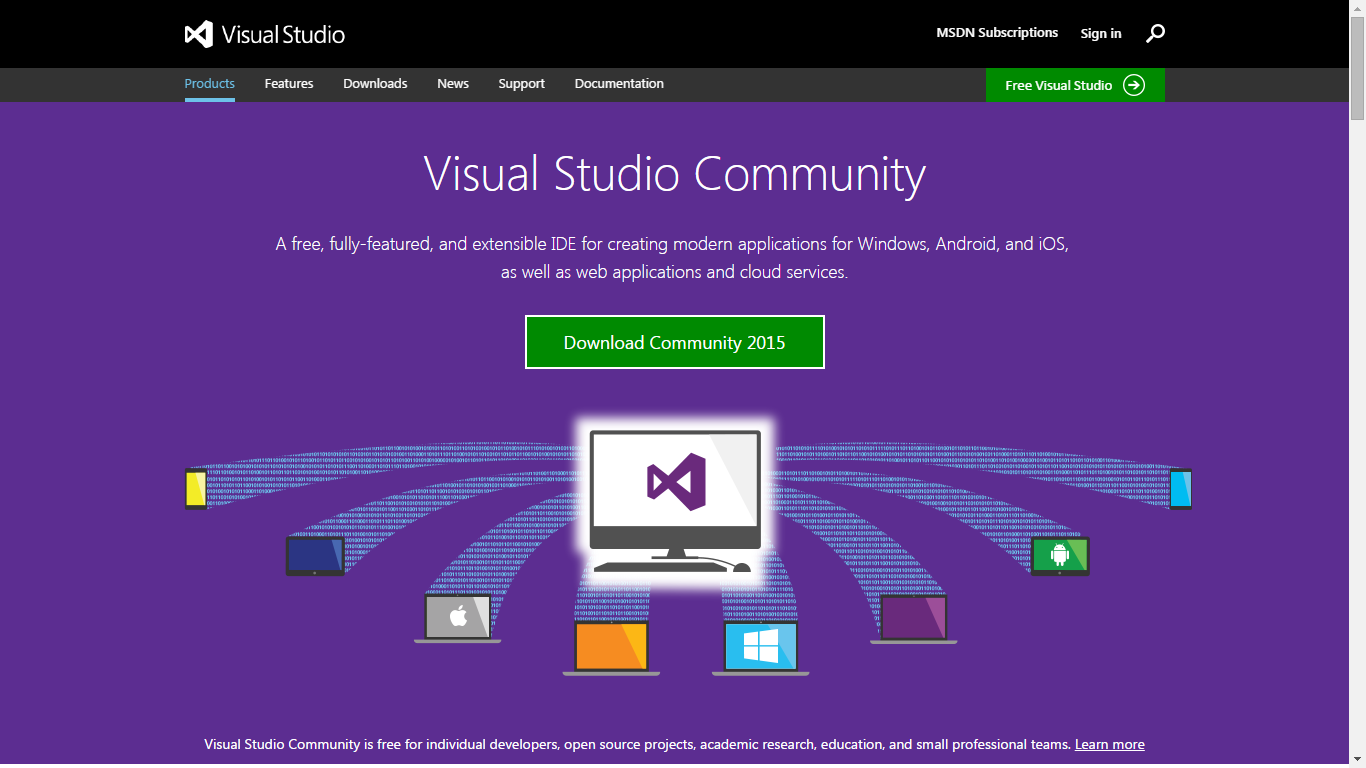
Figure 1: Visual Studio Community Download Page
Just click the big green "Download Community 2015" button to download the installer. Don't be fooled by its size: the real download and installation process begins when you run the program! When you do so, the installation process kicks in, Microsoft style, with a nice-looking window, depicted in Figure 2:
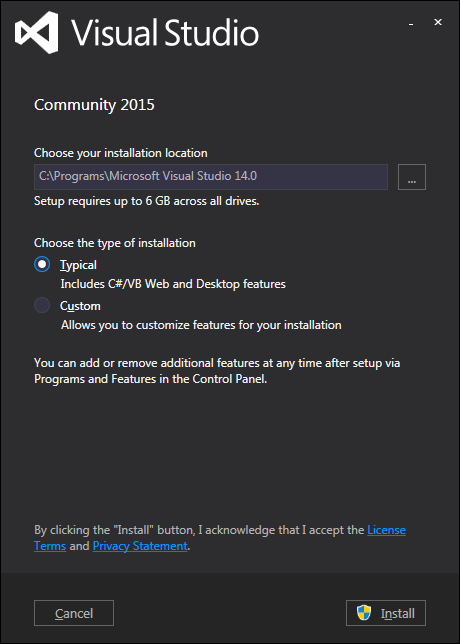
Figure 2: Visual Studio Community Installation Window
Let's stick to default choices and click Install. This is the long and boring part of the process, which may take a while, as I said before. While it runs, you can go to this page and create a Microsoft account if you don't have one. VS will prompt you for it when the installation process is completed.
Now let's fast-forward an hour or so: the installation process is nearly completed and, in typical Microsoft style, you'll be asked to reboot your computer. Do so and then run VS. It will take a while to run because it's still not completely configured. Have you taken the time to create a Microsoft account? It's now time to use it. Once VS finishes the configuration steps, it'll prompt you to sign in, as shown in Figure 3:
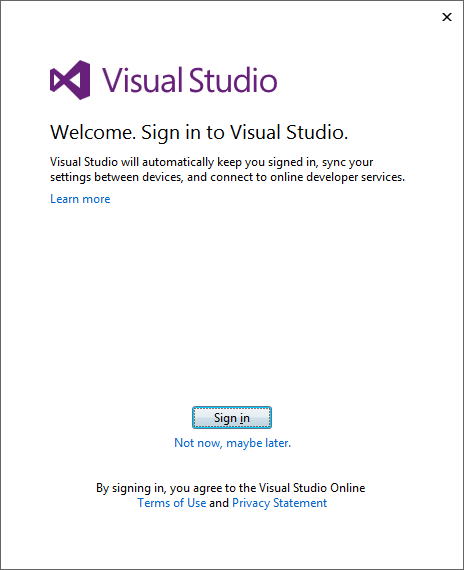
Figure 3: Visual Studio Sign in Window
Fill in the email and password you've chosen for your Microsoft Account and click "Sign in." Again, the process runs unassisted for a while and then you'll be asked to choose the development settings and the look you want to use for the Integrated Development Environment (IDE), as shown in Figure 4:
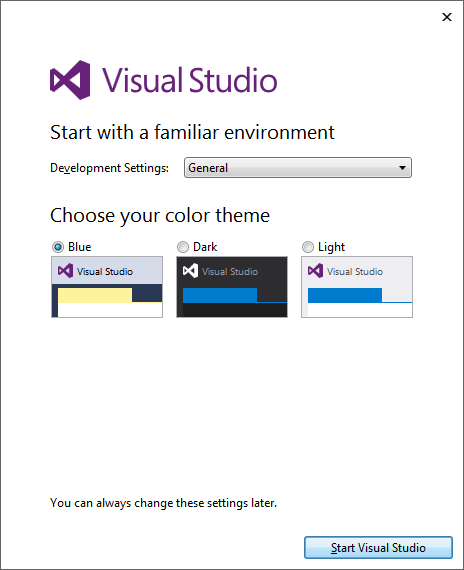
Figure 4: Visual Studio Color Theme Window
Again, let's stick to the defaults and press "Start Visual Studio." The installation process is (finally) finished, and you'll be presented with the VS Welcome Page, shown in Figure 5:
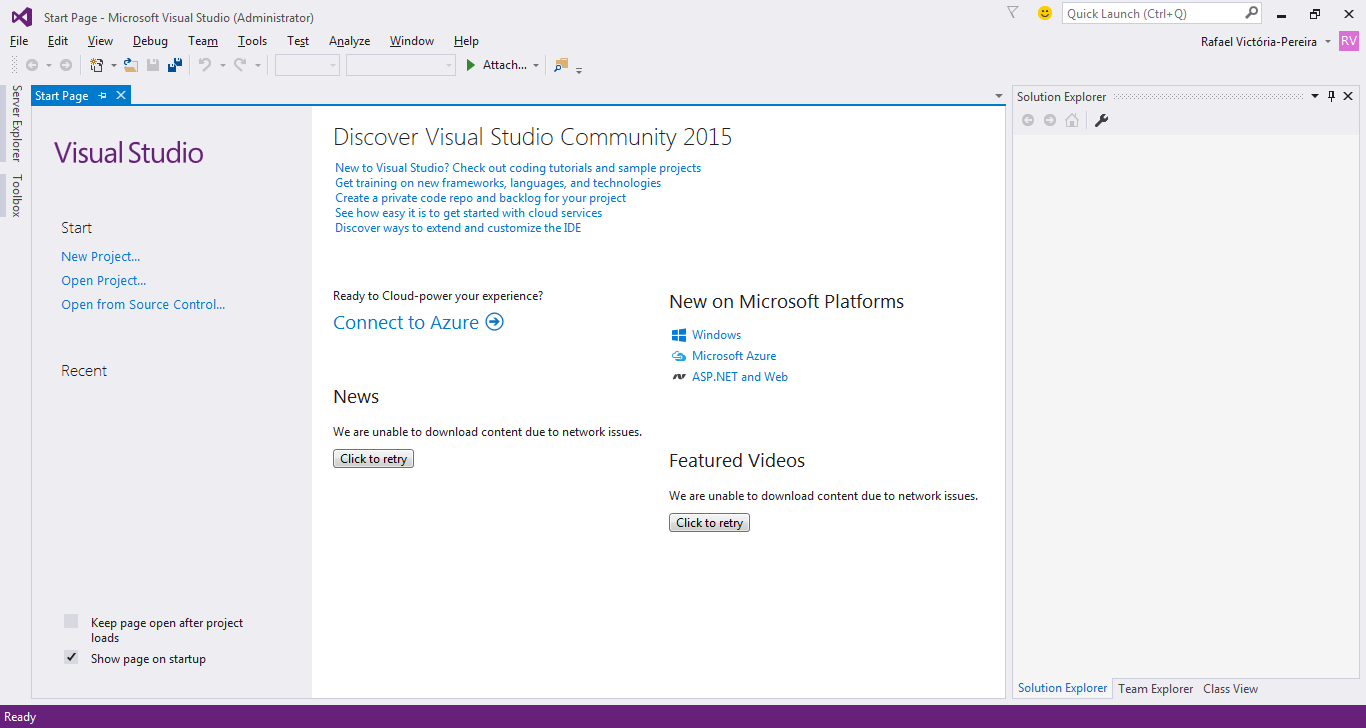
Figure 5: Visual Studio Welcome Page
This was the first small step in the road to C# mastery. There's a lot to learn about the language itself and the object-oriented paradigm. The path ahead contains some difficult bits (no pun intended), but your RPG/ILE knowledge will help you overcome them. It'll take a while before you'll be able to produce something truly useful in C#, so you'll need to be patient!
In the next TechTip of this series, I'll take you on a guided tour of Visual Studio Community and discuss the IDE's "intelligence," showing how it makes coding easier with its assists and wizards. Meanwhile, feel free to share your questions and suggestions in the Comments section below!


 IT managers hoping to find new IBM i talent are discovering that the pool of experienced RPG programmers and operators or administrators with intimate knowledge of the operating system and the applications that run on it is small. This begs the question: How will you manage the platform that supports such a big part of your business? This guide offers strategies and software suggestions to help you plan IT staffing and resources and smooth the transition after your AS/400 talent retires. Read on to learn:
 Business users want new applications now. Market and regulatory pressures require faster application updates and delivery into production. Your IBM i developers may be approaching retirement, and you see no sure way to fill their positions with experienced developers. In addition, you may be caught between maintaining your existing applications and the uncertainty of moving to something new.
LATEST COMMENTS
MC Press Online